





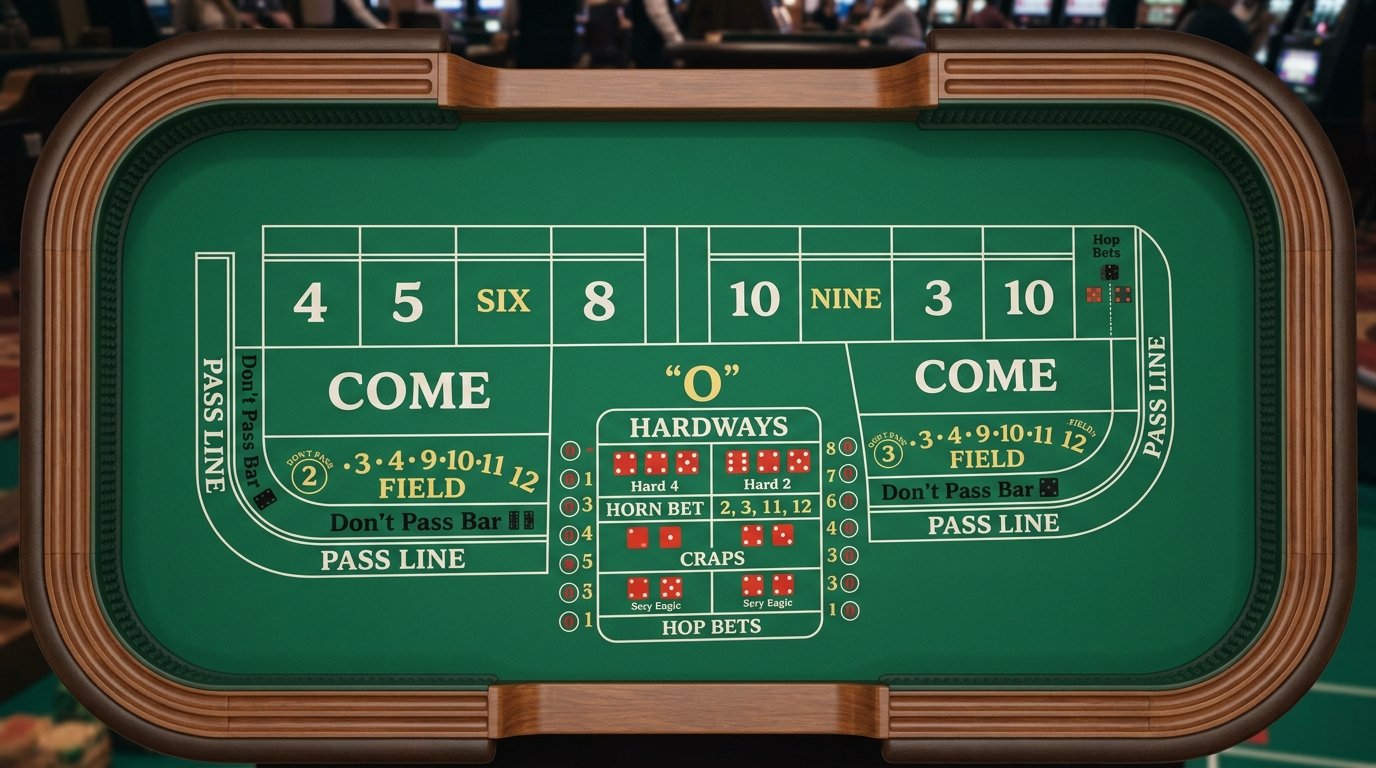
Quick Answer A craps table layout is split into three zones: two identical end sections for pass/come bets, and a center strip for proposition bets. Each zone maps to a betting area, and understanding the craps table layout helps you place bets accurately and follow the action without confusion.
Introduction
Walk up to a craps table for the first time and it looks like a control panel for a spaceship. Numbers, boxes, dotted lines, a strange word (“Yo”) printed near the middle — none of it means anything until someone explains it. The craps table layout isn’t random, though. Every section corresponds to a specific bet, and once you know what each box represents, the felt turns into something closer to a simple map. This guide walks through that map piece by piece: the zones, the numbers, the terminology, and the mistakes almost every beginner makes at least once. By the end, you’ll be able to look at a craps table and know exactly what you’re looking at.
What Is a Craps Table Layout, and Why Do Beginners Struggle With It?
A craps table layout is the printed felt surface that shows every available bet in the game. It’s divided into a mirror-image design, meaning the layout on the right side of the table is an exact copy of the layout on the left side. This is done so players standing anywhere around the table can reach a betting area near them.
Beginners struggle because the layout crams a lot of information into a small space. Numbers like 4, 5, 6, 8, 9, and 10 repeat across different sections. Bet names like “Field,” “Big 6,” and “Hardways” aren’t self-explanatory. Add a fast-talking dealer and flying dice, and it’s easy to feel lost in the first five minutes.
The good news: the layout only has three real zones, and once those click, the rest is just detail.
The Three Zones of the Craps Table, Step by Step
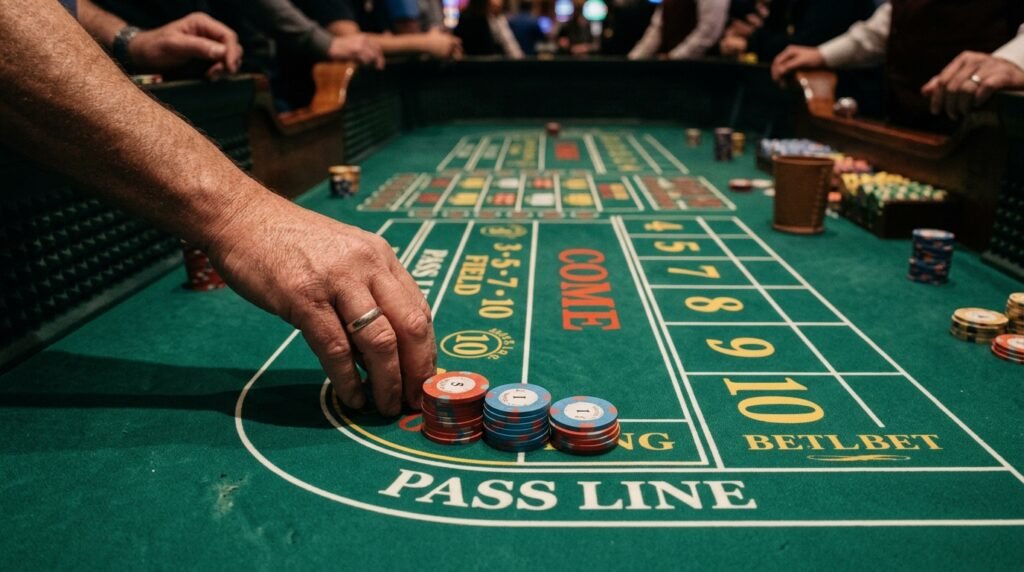
Here’s how to break the table down without getting overwhelmed:
- Pass Line and Don’t Pass areas — long strips running along the outer edge, closest to each player. This is where most beginners start.
- Come and Don’t Come areas — positioned just above the Pass Line, used for bets placed after the first roll of a round.
- Place bet numbers (4, 5, 6, 8, 9, 10) — a row of boxes matching the numbers a shooter can roll, used for ongoing bets during a round.
- The Field — a single large box, usually covering 2, 3, 4, 9, 10, 11, and 12, offering a one-roll bet.
- Center proposition section — the busiest part of the table, shared by both sides, containing one-roll bets like Any Craps, Any Seven, and the Hardways.
- Big 6 and Big 8 boxes — sometimes printed separately near the Field, though many modern layouts fold these into the place bet numbers.
How the Layout Actually Works During Play
The layout isn’t just decoration — it’s functional. When a stickman (the dealer controlling the dice) pushes the dice toward a shooter, every player at the table already has chips sitting somewhere on the layout that correspond to an active bet.
Here’s the mechanic in plain terms: the come-out roll determines whether Pass Line bets win, lose, or move a marker (called the puck) onto a number. Once that puck lands on a number — say, 6 — the layout’s “6” box becomes the active point, and Place bets on that number can be added. The center proposition boxes stay live on every roll, win or lose, which is why regular players often ignore them until they understand the odds involved.
Pro Tip: Watch where the dealer places the white puck. If it says “ON,” a point is established. If it says “OFF,” the table is on a come-out roll and different bets apply.
Common Beginner Mistakes at the Craps Table Layout
New players tend to make the same handful of errors:
- Placing chips in the wrong zone. Tossing chips into the center proposition area when you meant to make a Place bet is a classic mix-up, since dealers handle center bets differently.
- Confusing Come bets with Pass Line bets. They function similarly but activate at different points in the round.
- Ignoring the puck. Not checking whether it’s ON or OFF leads to betting on the wrong type of roll.
- Assuming every number box behaves the same. The 6 and 8 pay differently than the 4 and 10, even though they look identical on the felt.
- Standing too far from your bet zone. Reaching across the table to fix a bet can cause you to knock over other players’ chips.
Craps Terminology You’ll See Printed on the Layout
The layout uses shorthand that only makes sense once translated:
- Pass Line — the primary bet, wins on a come-out 7 or 11, loses on 2, 3, or 12.
- Don’t Pass — the opposite bet, favoring the shooter to fail.
- Field — a one-roll bet on specific numbers appearing on the very next roll.
- Hardways — a bet that a number (4, 6, 8, or 10) rolls as a pair (like 3-3) before it rolls any other combination or a 7.
- Yo — table slang for 11, used to avoid confusion with “seven” during loud calls.
- Horn Bet — a combined bet covering 2, 3, 11, and 12 at once.
Knowing these terms means you can follow the stickman’s calls without needing a translator.
Strategy Tips for Reading the Layout Faster
Understanding the layout is really about pattern recognition, not memorization. A few habits help:
- Start by locating the Pass Line nearest to you. Everything else builds outward from that reference point.
- Track the puck before placing any bet. It tells you which phase of the round you’re in.
- Learn the center section last. It has the most boxes but the least relevance for beginners learning the basics.
- Watch a few rounds before playing. Observing how chips move around the layout in real time teaches the flow faster than any diagram.
Pro Tip: Most casino floors keep a printed rules card near the table. Comparing it to the physical layout while a round plays out speeds up the learning curve considerably.
Myths vs. Facts About the Craps Table Layout
| Myth | Fact |
|---|---|
| The layout changes at every casino | The core structure (Pass Line, Field, center props) is standardized industry-wide |
| Center bets are the best way to learn the game | Center bets are the most complex and highest-variance section, better suited to experienced players |
| Left and right sides of the table pay differently | Both sides are identical mirror images with the same odds |
| The dealer places your bets for you everywhere | Players place their own Pass Line and Come bets; dealers handle center and some proposition bets |
Comparison Table: Betting Zones at a Glance
| Zone | Bet Type | Roll Type | Beginner Friendly? |
|---|---|---|---|
| Pass/Don’t Pass | Line bet | Multi-roll | Yes |
| Come/Don’t Come | Line bet | Multi-roll | Yes |
| Place Numbers (4,5,6,8,9,10) | Standing bet | Multi-roll | Yes |
| Field | Single-roll bet | One roll | Moderate |
| Center Propositions | Single-roll bet | One roll | Advanced |
| Hardways | Standing bet | Multi-roll | Advanced |
Conclusion
The craps table layout looks intimidating for about five minutes, and then it doesn’t. Once you can spot the Pass Line, track the puck, and recognize the center section as the advanced zone rather than the starting point, the rest of the table stops feeling like noise. Three things matter most: know your zones, watch the puck, and save the center proposition boxes for later. Which part of the layout do you think you’ll watch closest during your first round — the Pass Line or the numbers? If you want to go deeper, the natural next step is learning how odds and payouts are calculated across these same zones. Understanding the map is the first step. Understanding the math is what makes the map useful.
FAQs
What is the craps table layout used for?
The craps table layout maps out every bet available in the game, from Pass Line bets along the edge to proposition bets in the center. It helps players and dealers quickly identify where chips belong for each type of bet, keeping fast-paced rounds organized and easy to follow, even with multiple players betting at once.
Why are there two identical sides on a craps table layout?
Craps tables are long, so a mirror-image layout lets players on both ends reach a full set of betting areas without leaning across the table. Both sides offer identical odds and bet types; the duplication exists purely for physical access, not for any difference in payouts or rules.
What do the numbers on the craps table layout mean?
The numbers 4, 5, 6, 8, 9, and 10 represent possible “point” numbers a shooter can establish after the come-out roll. Each has its own box for Place bets. Here’s how they group by frequency:
- 6 and 8 — rolled most often, lowest house edge for Place bets
- 5 and 9 — moderate frequency
- 4 and 10 — rolled least often, higher payout odds
Is the center section of the craps table layout hard to understand?
Yes, relative to the rest of the layout, the center section is the most complex part of the craps table. It holds one-roll proposition bets and Hardways bets, each with different odds and payout structures. Most beginners are advised to learn the Pass Line and Place bet areas first before exploring the center boxes.
Do all casinos use the same craps table layout?
The fundamental structure — Pass Line, Come area, Place numbers, Field, and center propositions — is standardized across casinos. Minor cosmetic differences in color or font exist, but the functional craps table layout and the bets it represents remain consistent, which is why learning one table effectively prepares you for any other.
What’s the easiest part of the craps table layout to learn first?
The Pass Line is widely considered the easiest starting point. It sits along the outer edge closest to each player, has straightforward win/loss rules tied to the come-out roll, and doesn’t require understanding the more complex center proposition bets that confuse most newcomers early on.